Paschke Online
Designs Ink Publishing Article Archive and Reference Library
Articles by Chris A. Paschke, CPF GCF
"Donations & Recycled Profits"
September 2008
The custom framing of inexpensive posters, prints, and portraits is fast giving way to more inexpensive open edition online sales and multiple-image digital photo frames. One aspect of custom framing that continues to grow is the framing of keepsakes and collectibles. The custom framing of memorabilia will probably continue forever, because it is one of the truly unique and personalized framing projects that cannot be "shopped" online. Another popular home decorating feature wall is using framed wall groupings. These may be a combination of personal collectables, inexpensive store-bought images, or upper end fine art.
Wall Groupings
Art hung in clusters or rows on a wall as an accent has been a popular design element for a long time. Family portrait walls have been seen in dining rooms (photo 1), hallways, and following the diagonal staircase to upper level bedrooms. And even with the digital craze, a home decorating magazine can rarely be opened without there being some type of wall grouping being showcased. Wall arrangements are as variable and diversified as the art and framing. Full length hallways being lined floor to ceiling with stacked art; clusters of items all framed alike; and eclectic montages of frames covering entire walls — like wallpaper — are all popular. There is very little that seems unacceptable when hanging in multiples.
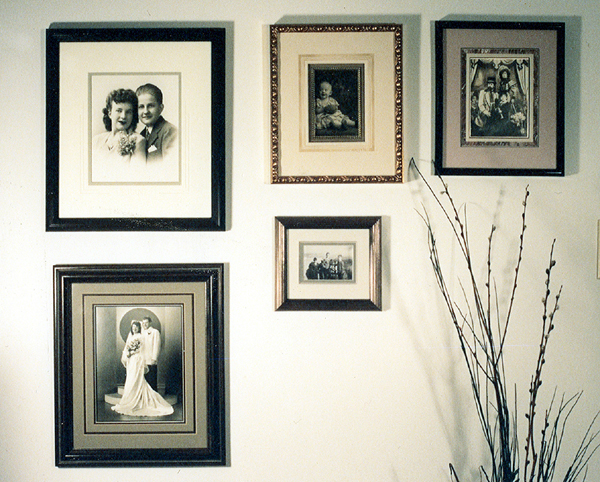 Photo 1
The family portrait wall remains a popular decorating trend. Notice the asymmetrical placement and dried flower cluster to the right. All frames feature different mouldings and assorted frame design elements from fillets to marbled decorative paper.
Strength in Numbers
When designing with multiples, unity may be achieved a number of ways. Intrigue may be created using a collection of assorted types of art and frame profiles, while visual continuity (unity) is usually achieved through the similarity of the art, matting, or moulding chosen. Art in series is popular, either as a triptych — a single image cut into three — or as a set. Threesomes are commonly replacing one long horizontal piece of art in decorating over a sofa or on a long accent wall.
Multiples and square placement of four, nine, or more are also common in room decorating. Even narrow walls may be accented with framed art as a vertical grouping. The featured dining room shows a series of assorted ceramic tiles with matching frames for each separate set, while creating an overall unified group assortment in the corner of the room. The unity is maintained by them all being tiles regardless of the mouldings being different.
Hidden Potential
The day of just being the well known local framer is no longer enough to be competitive, we all must offer something special to bring in our customers. So find your niche and capitalize on it. For years I was the only framer in Redding, CA that had the equipment to dry mount or laminate anything, so not only did I advertise and offer that to my customers, I also subcontracted the service to other framers in town. Hidden profit potential there.
Your niche might be offering special services to others, but it might just be creating small high quality frames and mounted art that isn't available at local discount stores or on the Internet. Consider recycling. Recycling is more than just colored trash containers. When purchasing length moulding, unused end cuts and scraps may easily be recycled into small readymade frames of common standard sizes, or to fit outdated store inventory. And rather than fitting each with mat and glass scraps, sell them as potential coordinates, like shopping for slacks and a shirt. That way customers can mix and match their frame, mat, and glazing choices.
Many framers offer reduced reflection, conservation, museum, and UV acrylic glazing, so their glazing scraps are of superior quality to typical box store photo frames or readymades. If you specialize in decorative and tiered matting then high quality one-of-a-kind specialty mat fallouts also serve as wonderful 'higher priced' standard sized mat specials, and with a CMC there is no excuse not to be recycling all these scraps into additional profits.
Designer Corner
Since most of these end cuts and scraps have already been paid for by the original framing project any money made off these smaller frames, mats and glazing only need to cover the time spent to cut or join them. Plus if they are selected and fitted for a customer than that charge will be added too. The frames may be economy priced to both get the customers into the shop but also to encourage multiple unit purchasing...like for the wall groupings discussed earlier.
It is imperative to have a special location in your store, perhaps a 'designer corner' where specialty — not closeout — items are sold. And in that area show samples of wall grouping ideas in a design book and on your design display wall. There should never be idle time in any frame shop. You should always be selling, designing, or completing custom framing. There is always something to be made, glass or mats to be cut, or items to be framed for the new spring, summer, autumn, or winter wall grouping.
Many of us have old print and poster inventory in assorted sizes that would make fabulous items for a wall grouping. So just as with the recycling of the moulding end cuts, mounted and occasionally laminated images are also sales potential in your new designer corner. Many times old inventory includes items that have been discontinued from manufacturers, are out of print, or simply no longer available — even on the Internet. I receive many calls from interior designers looking for my discontinued prints from Wild Apple which I have drawers full of. These make fabulous designer corner sales.
Multiple Mounting
When working with open editions there are no limitations, so prints may be folded, spindled and mutilated in order to make a profit, and the most profitable way to do that is by trimming away white borders or unused edges and mounting in clusters. (photo 2) Always select and prepare these images as though you are custom framing them for a customer. Think through how they might look once in a frame, not simply mount to a backing board for bin storage or sale. That way the item is prepared in a more creative way and frames end cut frames may be chosen to best suit them.
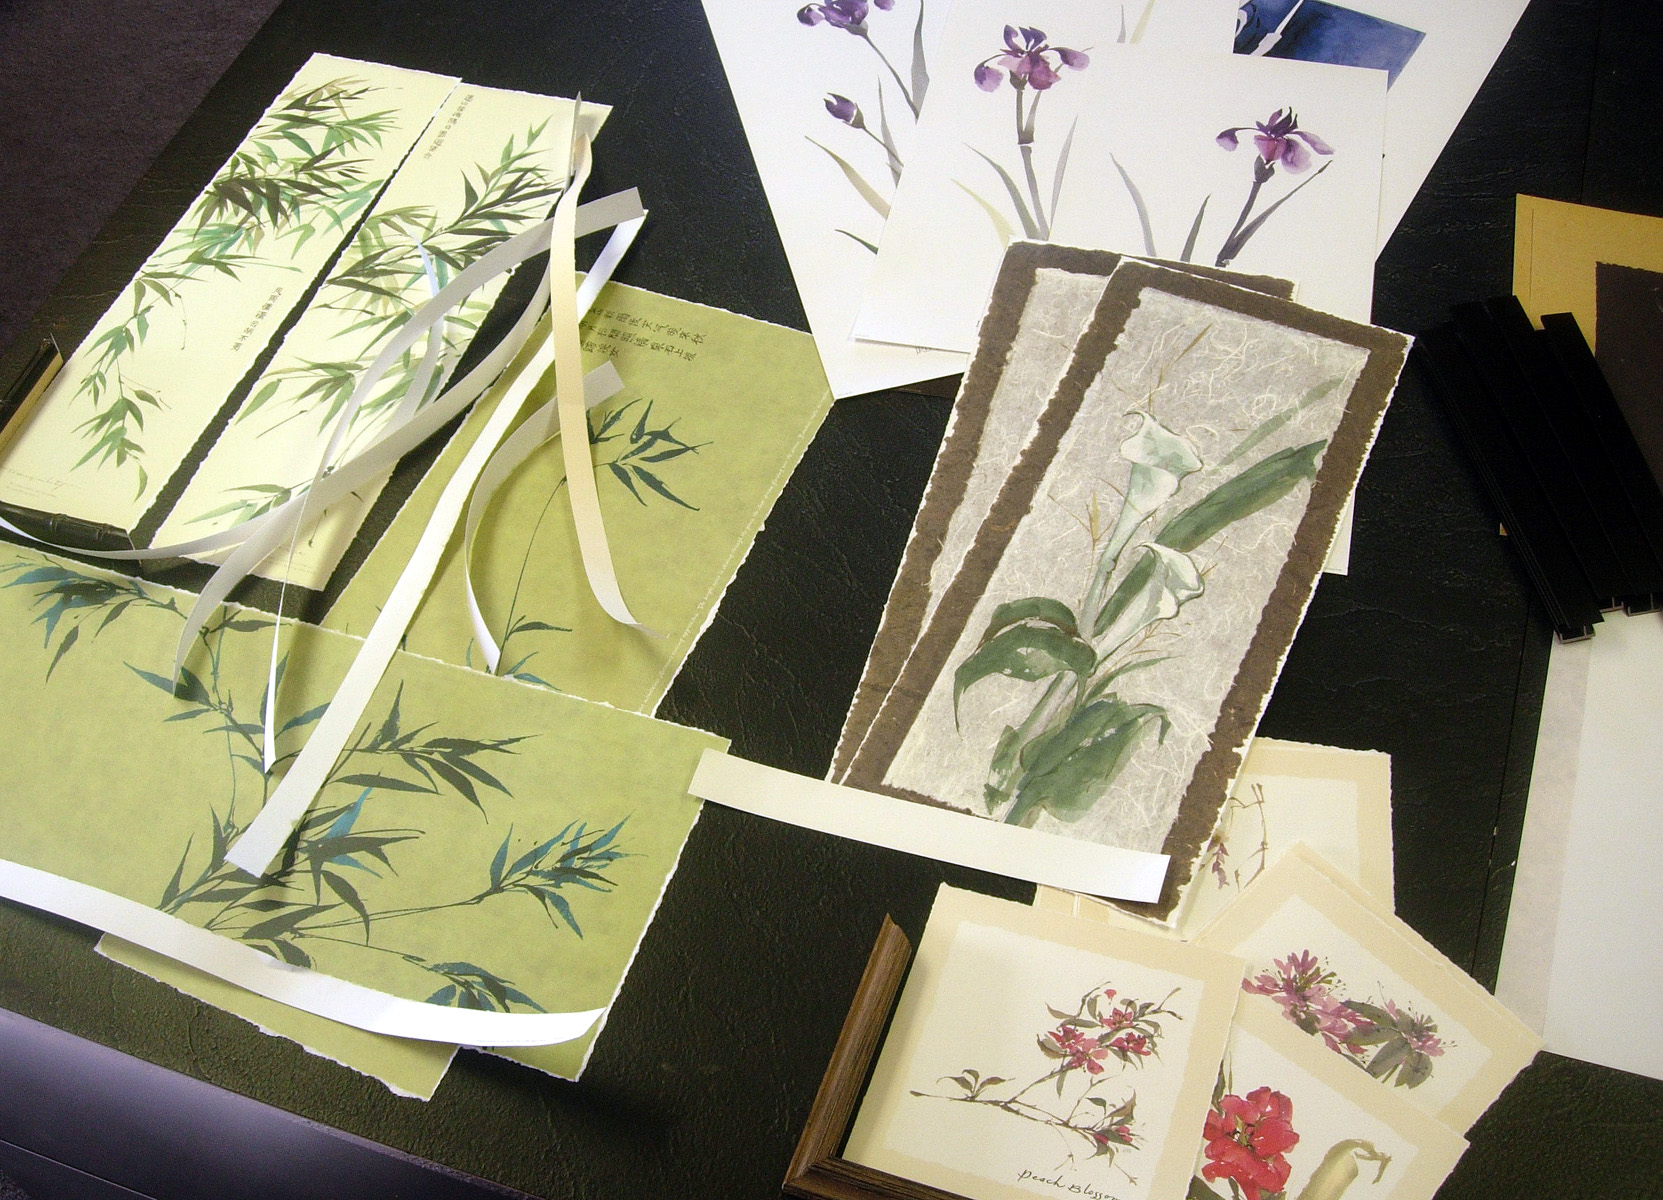 Photo 2
Prints are selected then their edges and white borders are torn or cut away in preparation for mounting.
Multiple mounting is the most effective use of press time and is material cost effective (photo 3). Heat activated foam center boards make the best substrate for bulk mounting because of saved time during preparation and dwell time, as well as ease of trimming after mounting and print rigidity during storage and sale. If regular clay coat foam is selected then pick a permanent, porous, tissue adhesive to mount, like Trimount or ColorMount.
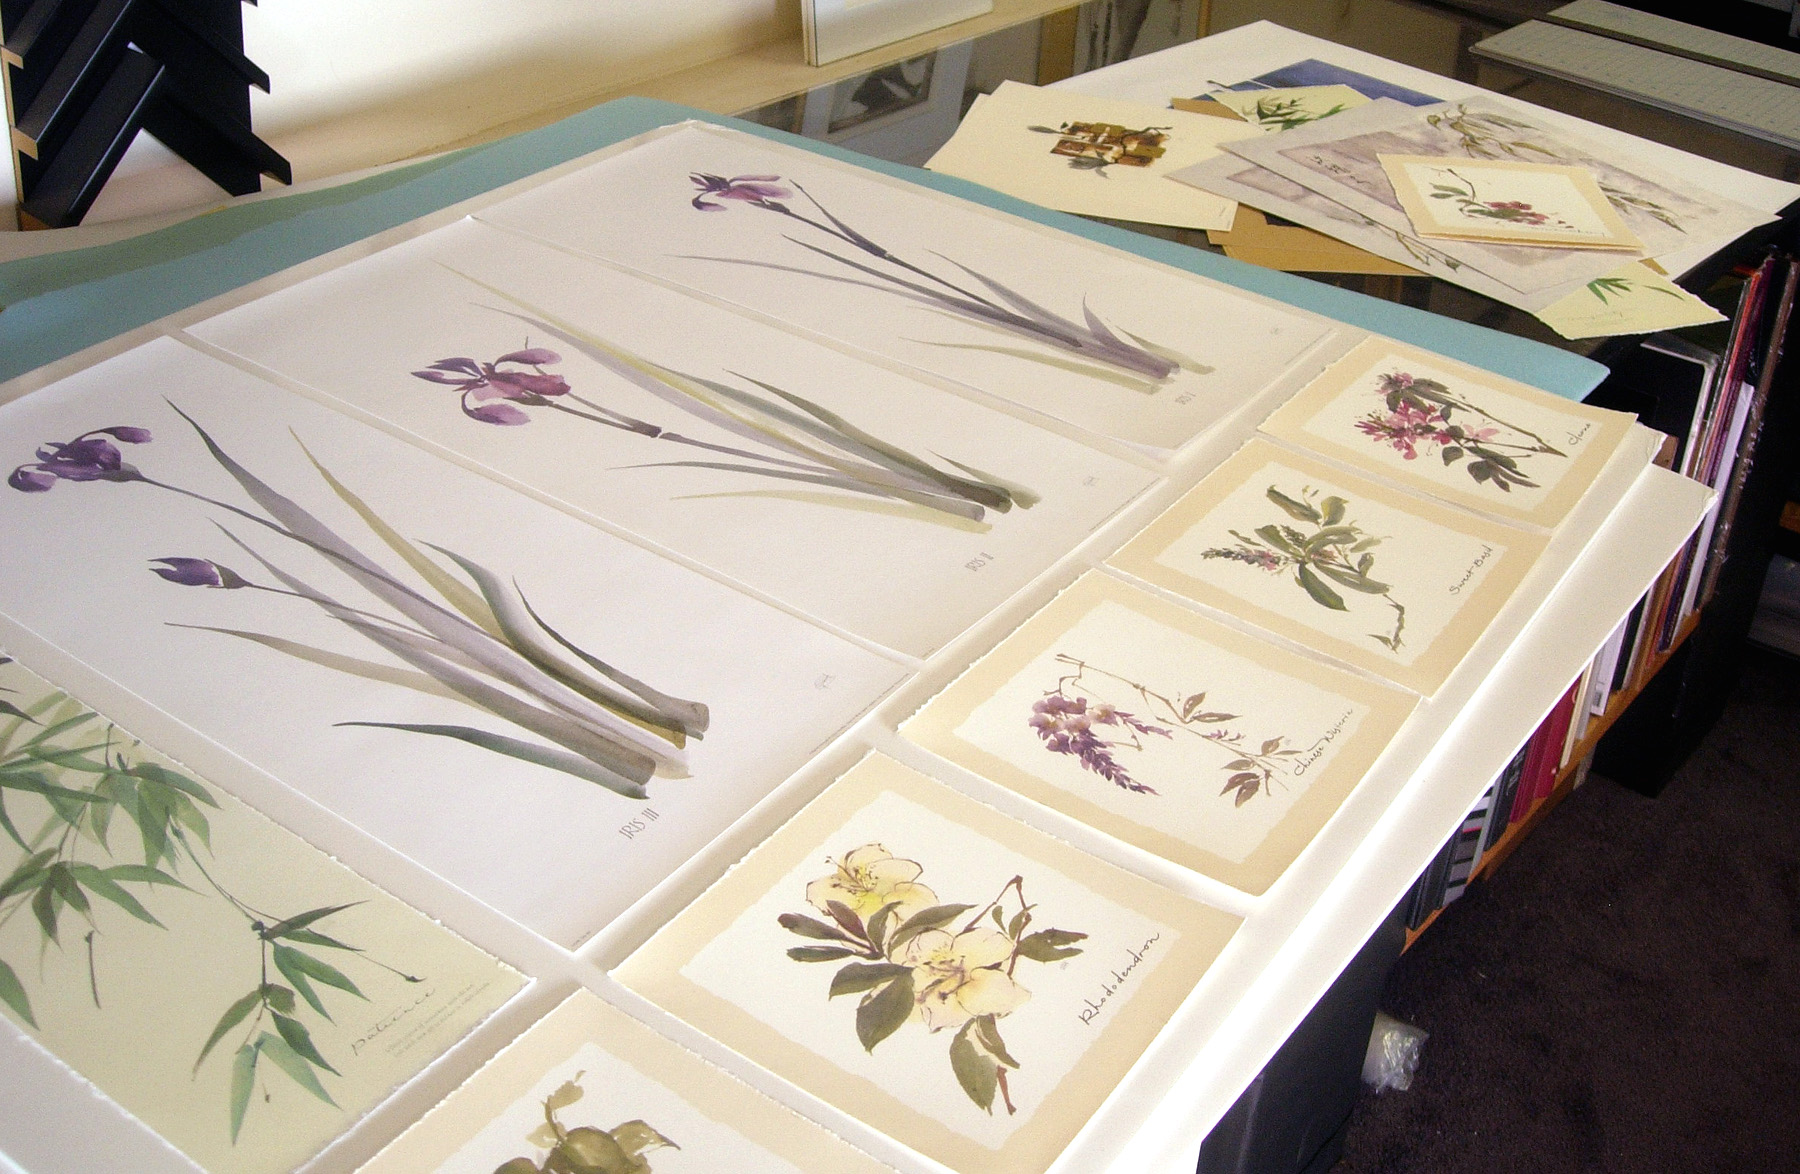 Photo 3
A full sheet of HA Step 150 is fitted with as many prints to make each press run as economical as possible.
Many foam boards have a similar surface appearance and the adhesive side is sometimes difficult to identify from the uncoated side (photo 4). Get to know your products well. The adhesive coating between HartMount and Gilman HA Insite is very visually different with HartMount having more of a wave pattern while Gilman Insite is smoother (photo 5). Both work equally as well and the adhesive smooths during mounting.
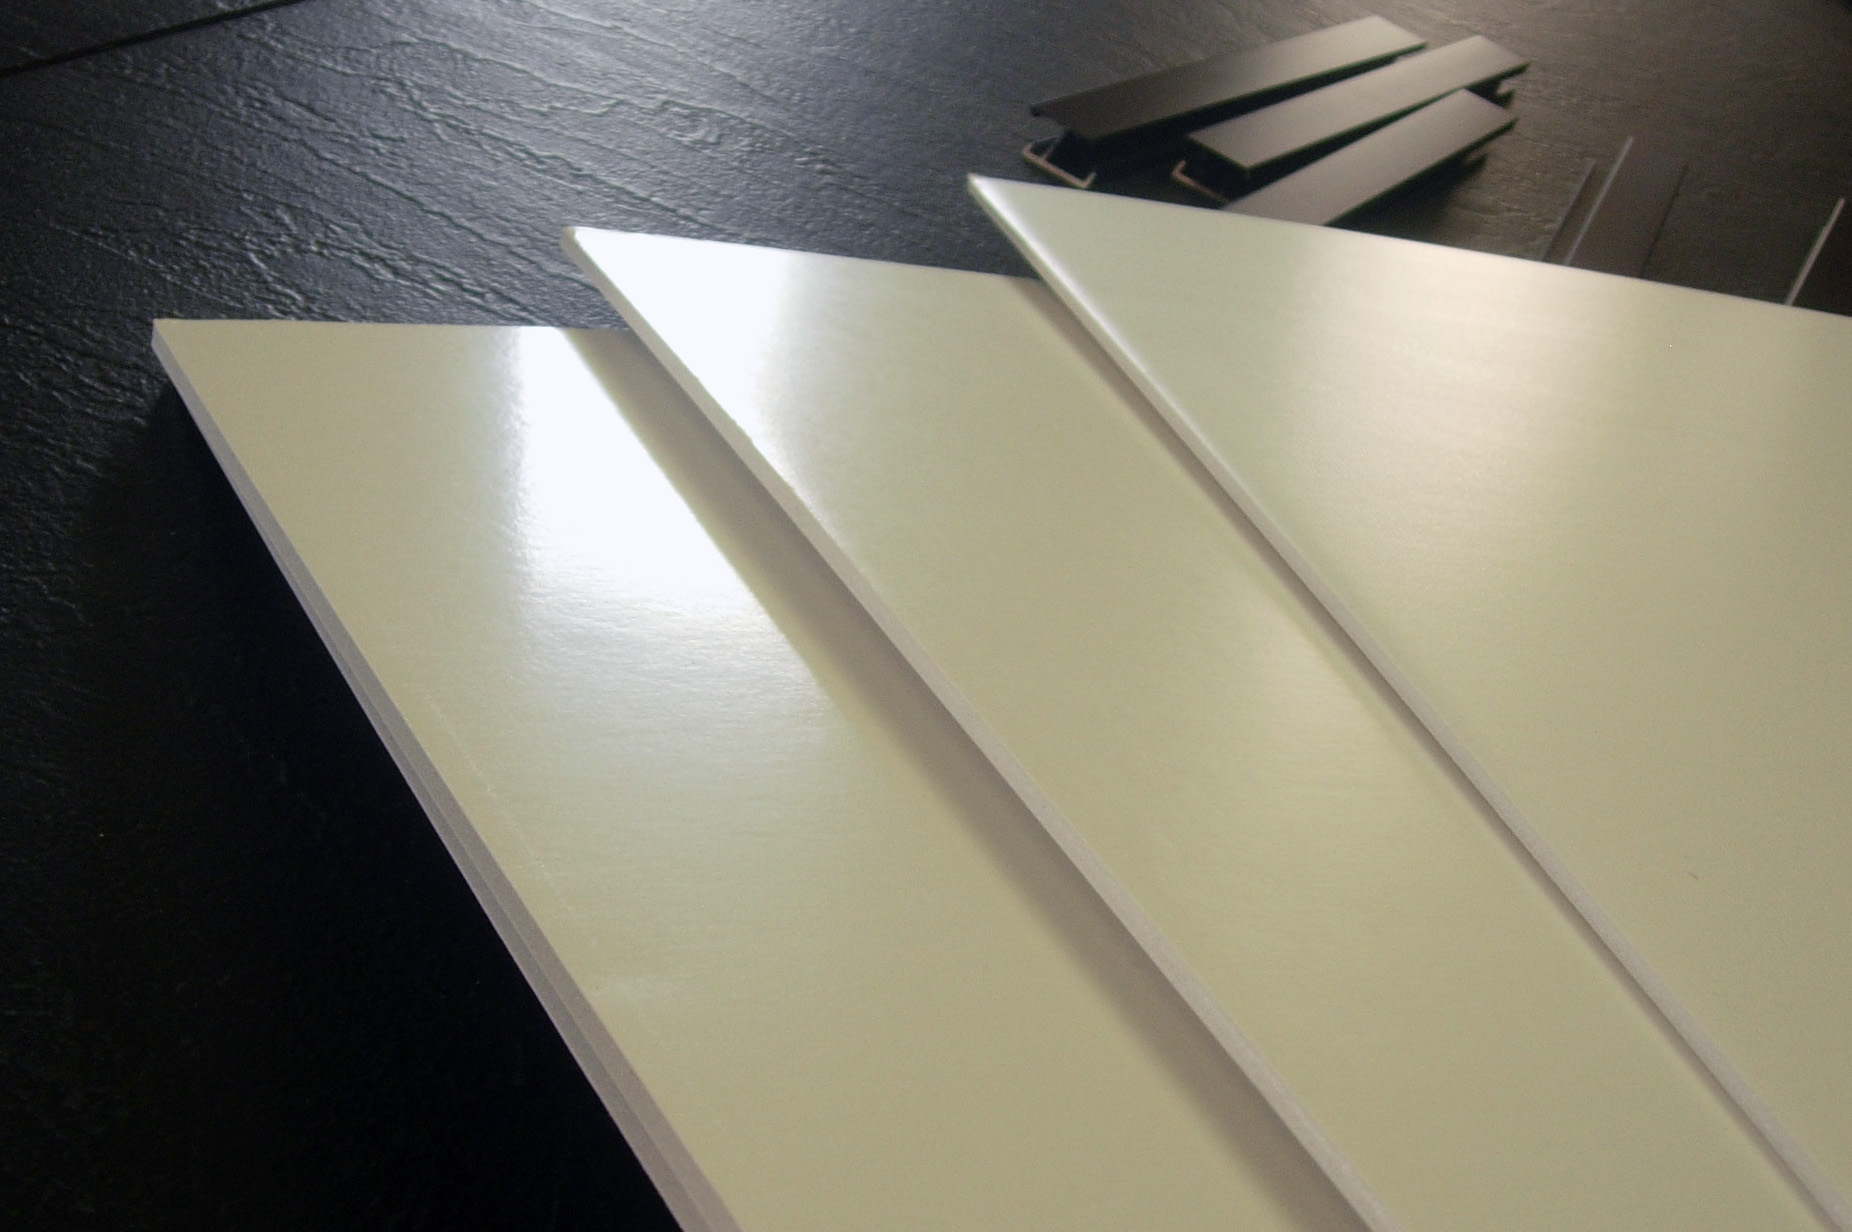 Photo 4
HA Bienfang Step 150 (L), regular clay coated foam (C), and Gilman HA Insite Foam Board (R). Notice the similarity in surface gloss makes the adhesive side difficult to identify.
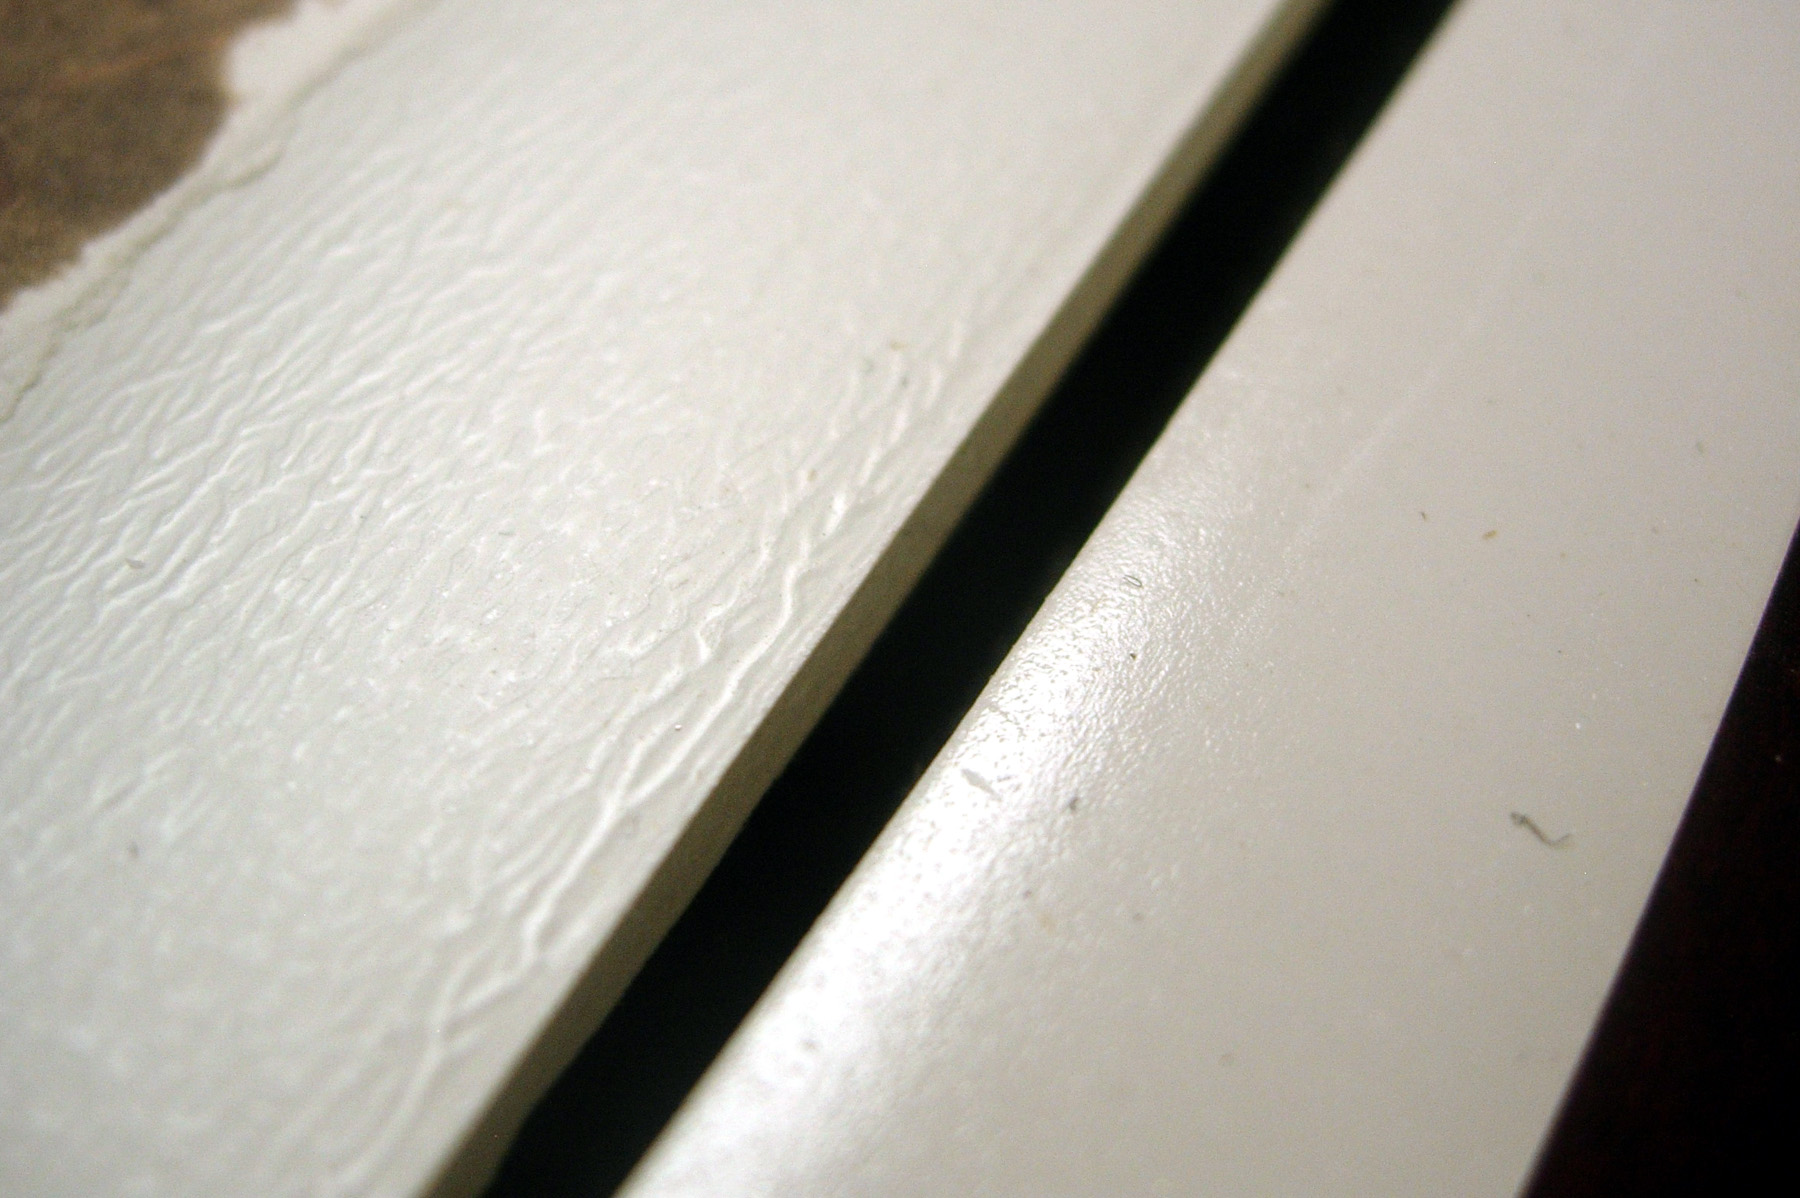 Photo 5
The adhesive coating of the HartMount (L) has more of a wave pattern while the Gilman Insite (R) is much smoother. Both bond equally as well and the adhesive smooths during mounting.
Laminating
If the prints are to be laminated rather than glazed, they may be mounted and laminated in one step or with two runs through the press: once to mount, once to laminate. Though it may be more press effective to run both at the same time the extra time to align and verify the laminate offsets the two press runs. If mounted first there is no chance of the tacked prints shifting as the large vinyl film is aligned onto the substrate making any large 32x40" or 40x60" application less stressful (photo 6). The top edge of the film has been lightly tacked into place while the liner is being pulled from beneath the film and hand rolled for better control.
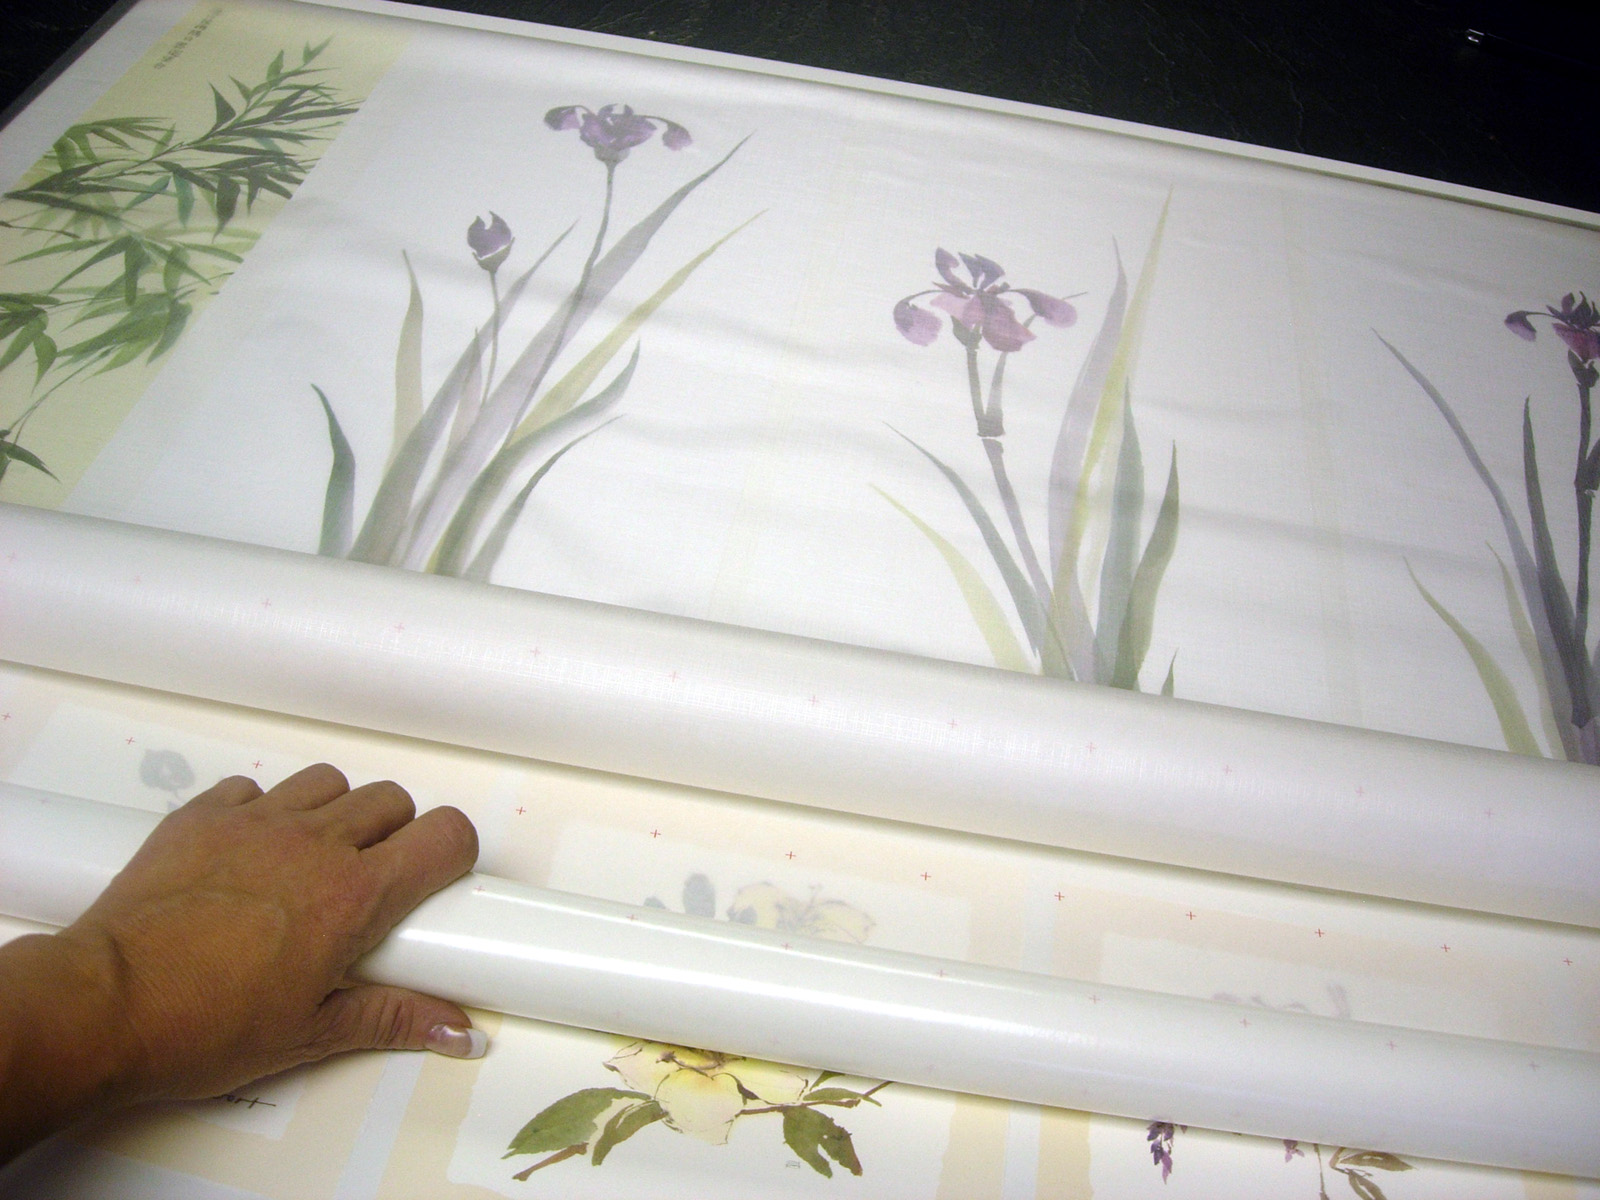 Photo 6
The sample was mounted first to prevent image shifting then one full sheet of laminate is applied over the entire board for an additional press run. Top end is aligned while the liner is being peeled off from under the stuck film, being hand rolled for easier handling.
Prepare many boards were prepared with laminate, then stack them for the press run. Laminate each board with a lower sheet of release paper - not release board - and be sure to cover with a piece of foam overlay to properly apply pressure and allow for air removal during lamination (photo 7). Make certain the boards stay in the press long enough to fully mount the vinyl film. If any tiny white dots are visible when the board is removed at 7 minutes it needs to be placed back into the press for a full 10 minutes, not just for 3 additional minutes. It must be run through the original time plus the additional time, not just the difference. Once removed and fully bonded there will be no air bubbles and only the surface texture of the film will be visible.
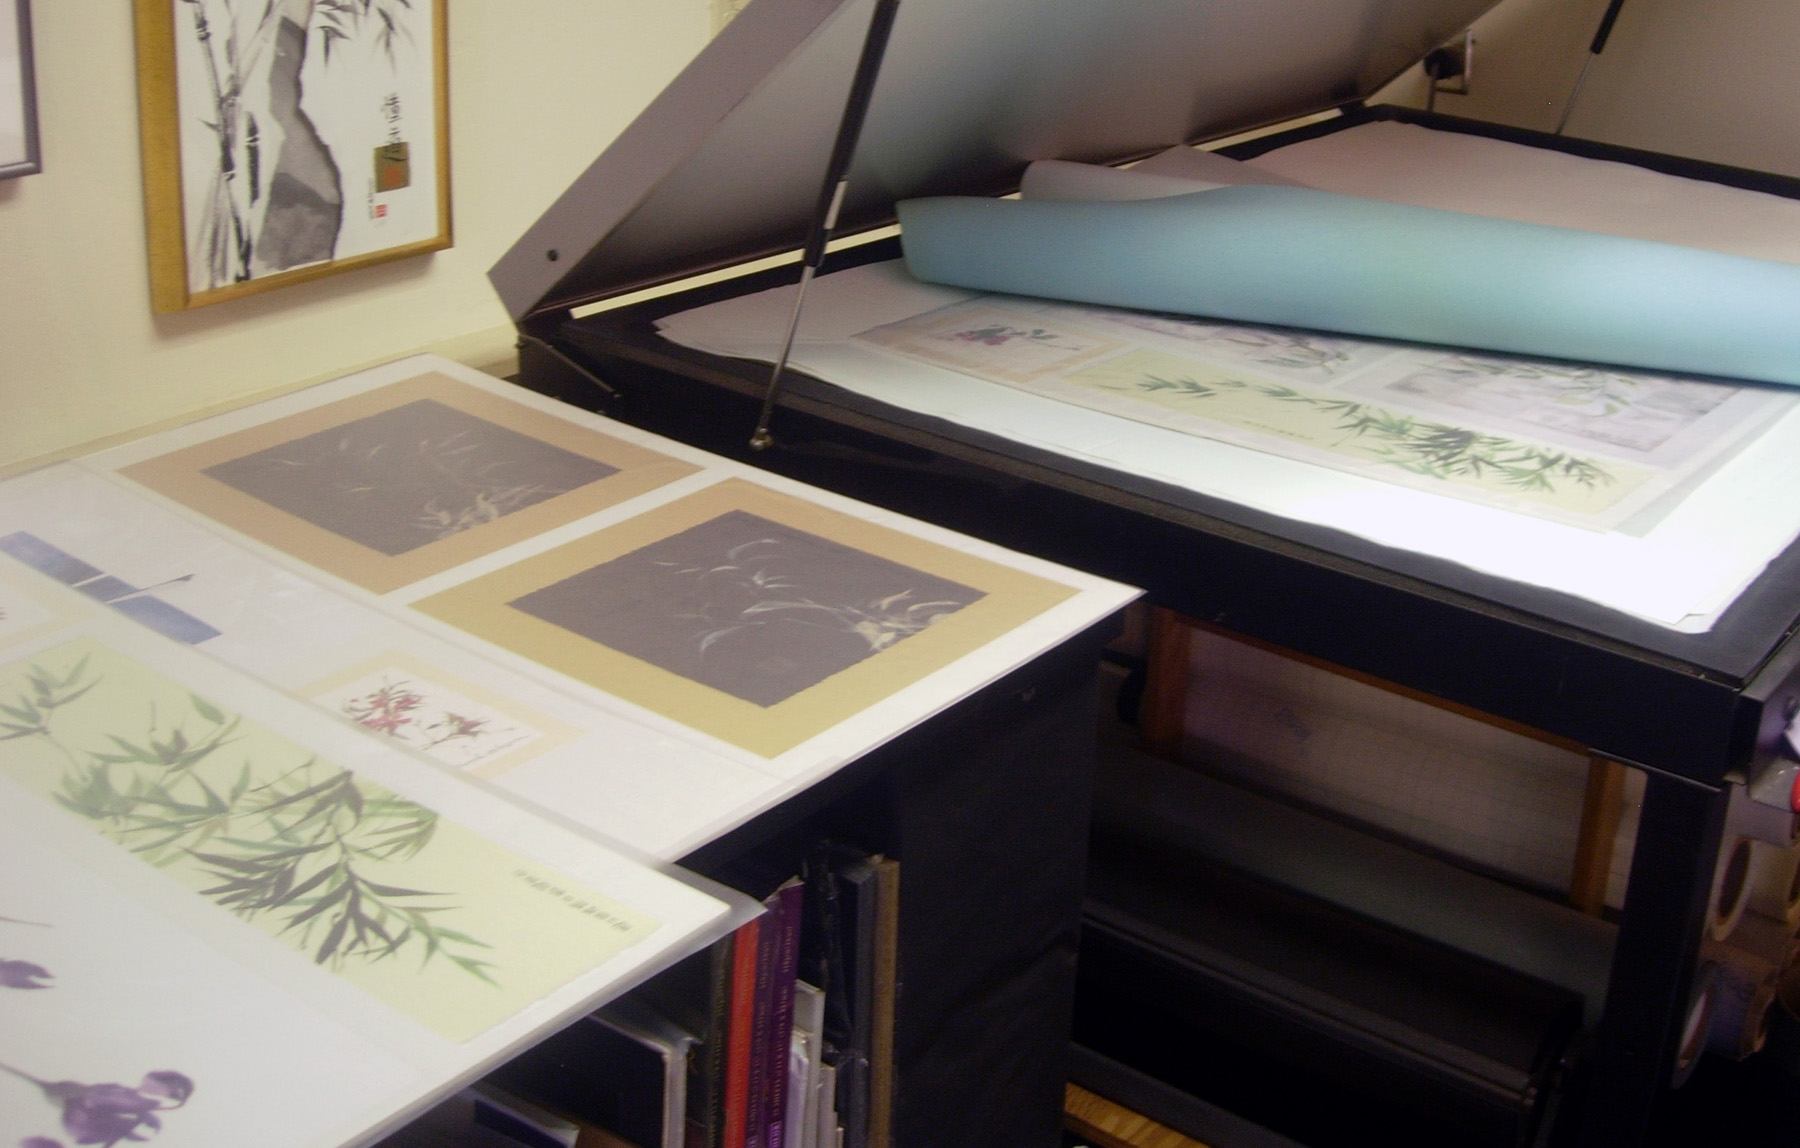 Photo 7
Many boards were prepared with laminate and stacked to wait for the press run. Each board must have a lower sheet of release paper - not board - and be covered with a piece of foam overlay to properly laminate.
The mounted and laminated images are now ready to trim to size (photo 8). Trim each print to exact end size making them fully ready to assemble into a frame, even if they are only to be placed in a plastic envelope and in a sales bin. Assorted images should be mixed and matched to showcase wall grouping ideas as well as to sell images. The larger images are ready for a custom frame selection while the smaller ones have readymade frames available from endcuts in assorted profiles and finishes. These small featured 6-½x6-½" florals have been cut down with a beige border to 7x7" from an original 24x24" nine-up open edition print. Frames are readymade to fit these 7x7" completed laminated florals out of both a wonderful narrow barnwood closeout moulding purchased for 25¢ a foot, and a black lacquer. (Photo 9)
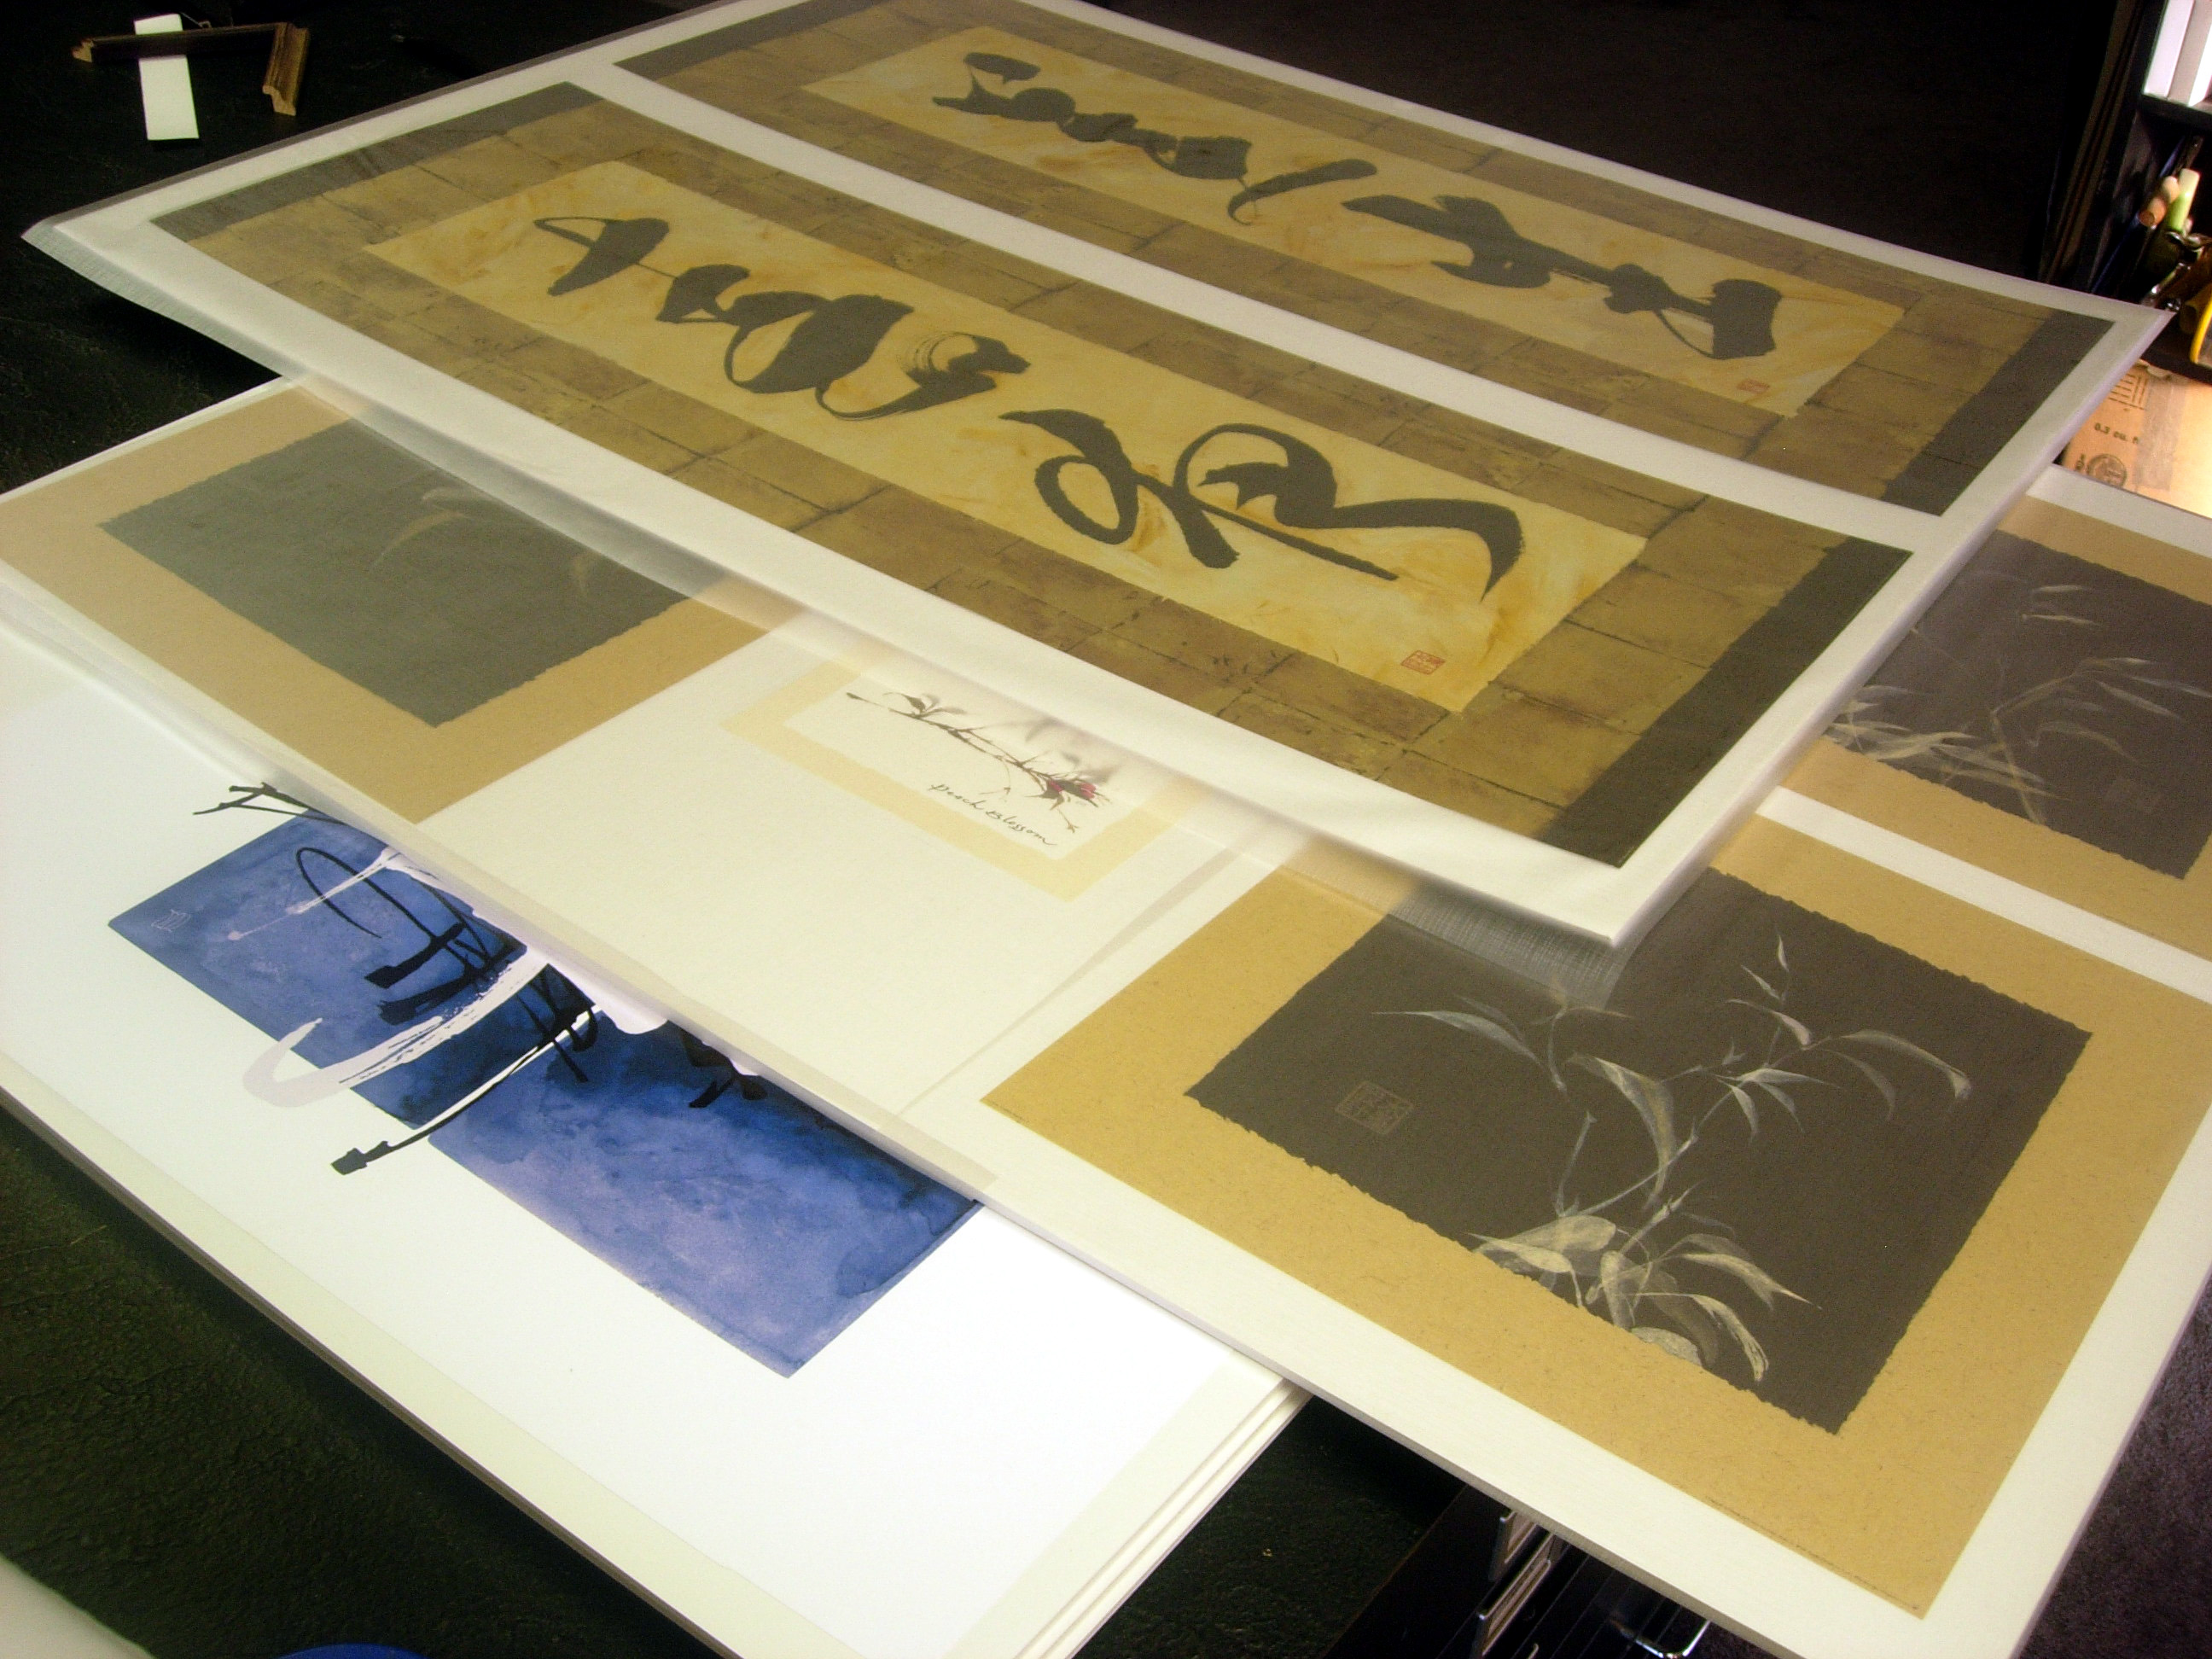 Photo 8
The mounted and laminated images are now ready to trim to size.
 Photo 9
These prints have been mounted and laminated with linen texture film then cut to standard ready-made size edge to edge. Larger images are reserved for custom frames.
Now go create your designer corner and head into the 2008 holiday season armed for profits!
END
Copyright © 2008 Chris A Paschke
Note: Open edition images shown courtesy of Wild Apple Graphics and Designs Ink, original art from Chris A Paschke, and wall groupings from personal collections, Designs Ink Gallery, and magazines.
For more articles on mounting basics look under the mounting section in Articles by Subject.
Additional information on all types of mounting is found in:
The Mounting and Laminating Handbook, Second Edition, 2002,
The Mounting And Laminating Handbook, Third Edition, 2008 and
Creative Mounting, Wrapping, And Laminating, 2000 will teach you everything you need to know about getting the most from your dry mount equipment and materials as an innovative frame designer.
All books are available from Designs Ink Publishing through this website.
Chris A Paschke, CPF GCF
Designs Ink
Designs Ink Publishing
840 Tucker Road, Suite H-190
Tehachapi, CA 93561
P 661-821-2188
chris@designsinkart.com